
Deployment
"Click – Click – Click – Close"
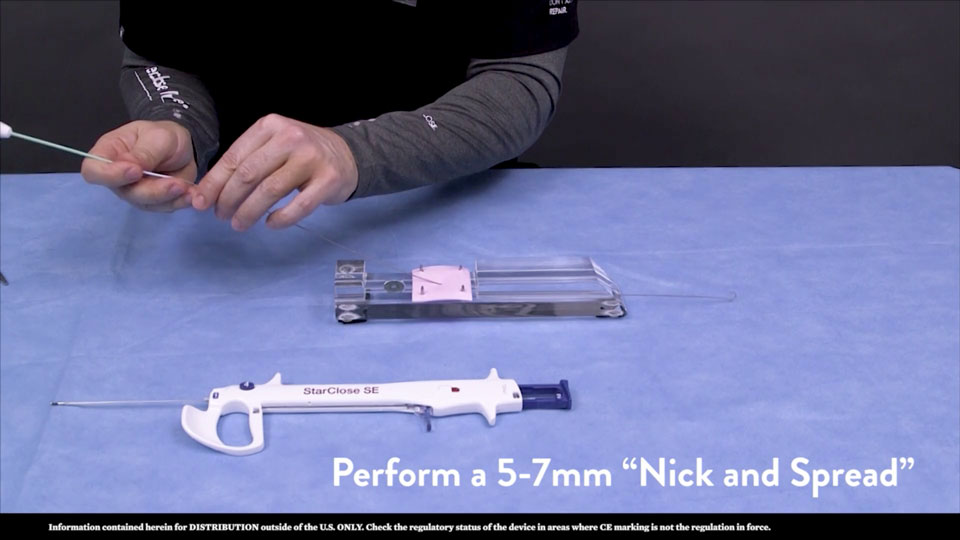
Pre-procedural Preparation
- Perform femoral angiogram
- Re-prep groin
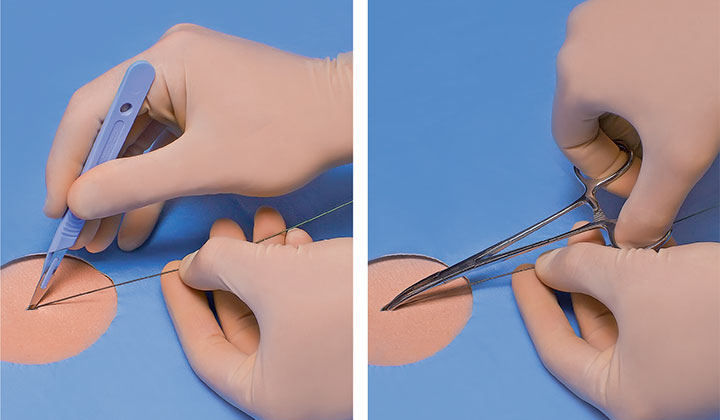
- Perform nick and spread
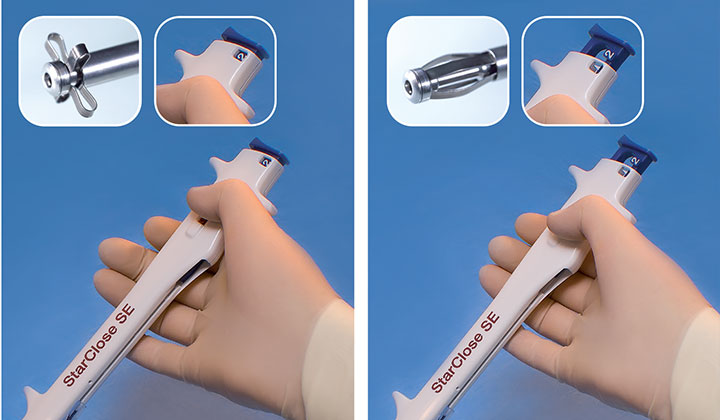
"CLICK" 1
Connect Exchange Sheath to Clip Applier

"CLICK" 2
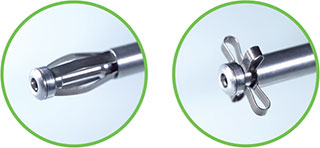
Locator Wing Deployment
Pull back 3 to 4 cm to split Sheath above skin.
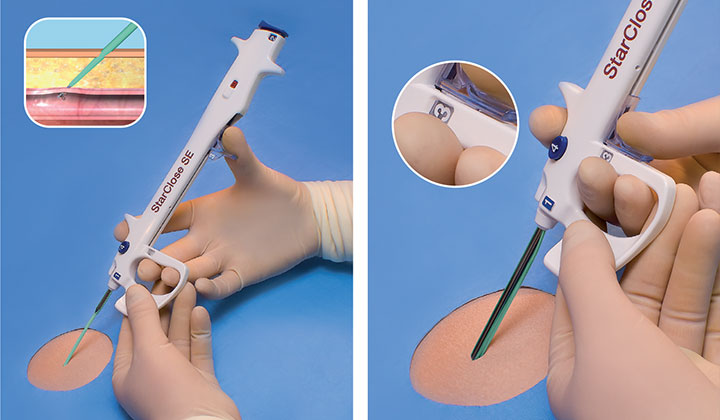
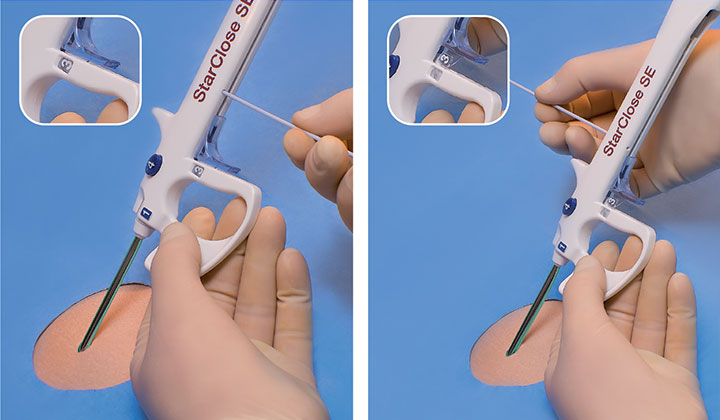
"CLICK" 3
Sheath Split
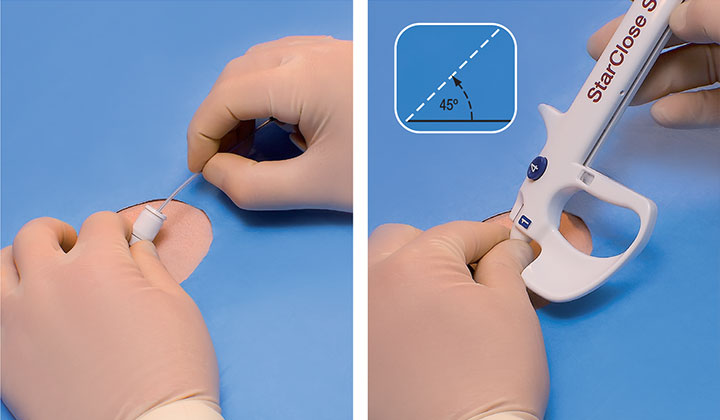
Maintain the device at the angle of the tissue track, continue to stabilize the device with the left hand on the Stabilizer.
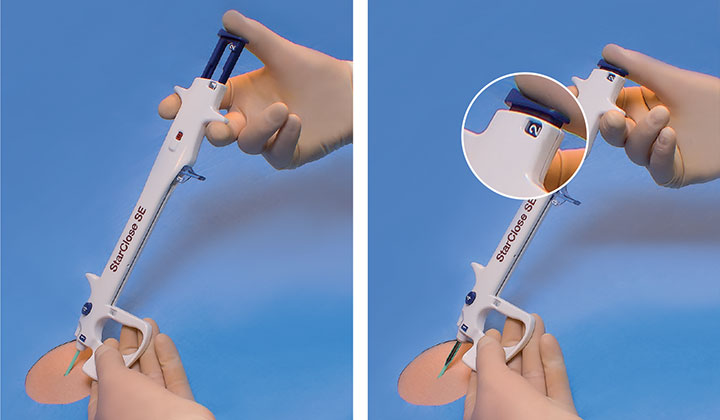
Step 1 – Pull back until tactile resistance is felt.
Step 2 – Advance Thumb Advancer.
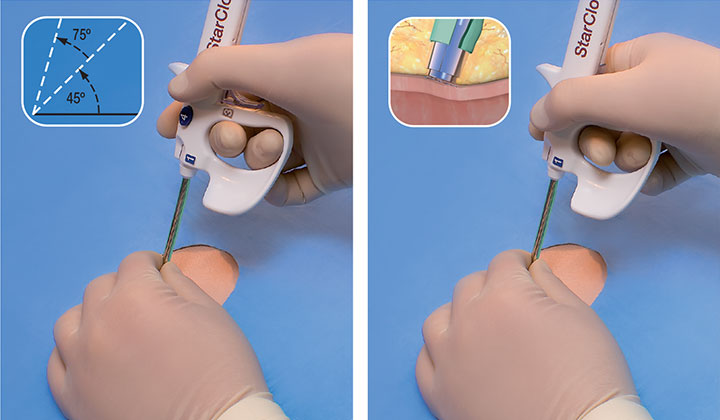
"CLICK" 4 (Close)
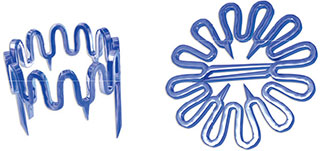
Clip Deployment
Raise device to 60 to 75', maintain contact with the artery and deploy the Clip.
Use of Safety Release
- If excessive resistance is felt while advancing the Thumb Advancer, pull back the Thumb Advancer.
- Slide the Safety Release forward to collapse the Locator Wings.
- Check that the number "2" on the Plunger exits the number window completely.
- Gently push down on the patient's body with the left hand. Remove the Clip Applier with the right hand without rocking or twisting.
Use of Access Ports
- If resistance is felt upon removal of the Clip Applier, insert the Dilator (or an 18-gauge thin-wall needle) into the Access Ports, one at a time, to unlock the Thumb Advancer.
- A "CLICK" should be heard to confirm release. Check that the number "3" on the Thumb Advancer exits the number window completely.
- Pull back the Thumb Advancer.
- Slide the Safety Release to collapse the Locator Wings. Check that the number "2" on the Plunger exits the number window completely.
- Gently push down on the patient's body with the left hand. Remove the Clip Applier with the right hand without rocking or twisting.
StarClose SE™ Vascular Closure System – Instructions for Use (IFU). Refer to IFU for additional information.
MAT-2203096 v1.0